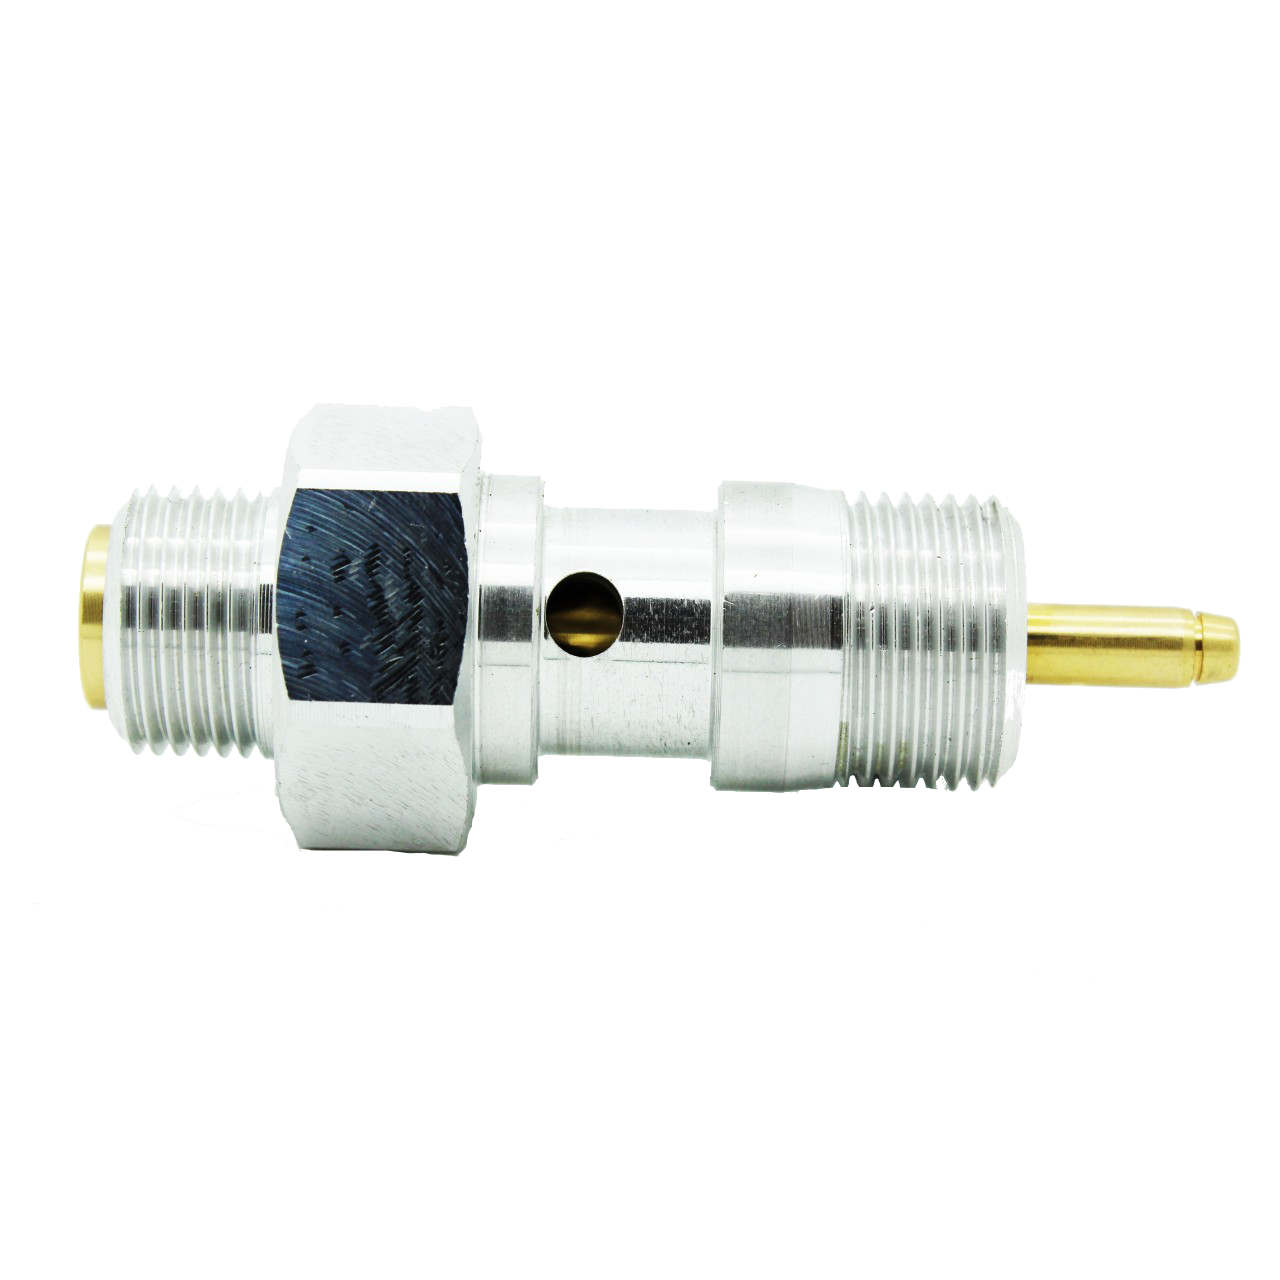
You can replace your Tankmaster valve while the tank is full, but it needs to be done in two stages:
- Replace the Body Only: The good news is that the main shutoff valve, located in the center of the Tankmaster body, can be detached! This allows you to replace the entire body while leaving the valve closed in place.
- Replace the Valve Later: Once the tank is empty at a convenient time, you can then replace the detached valve.
Finding the Parts:
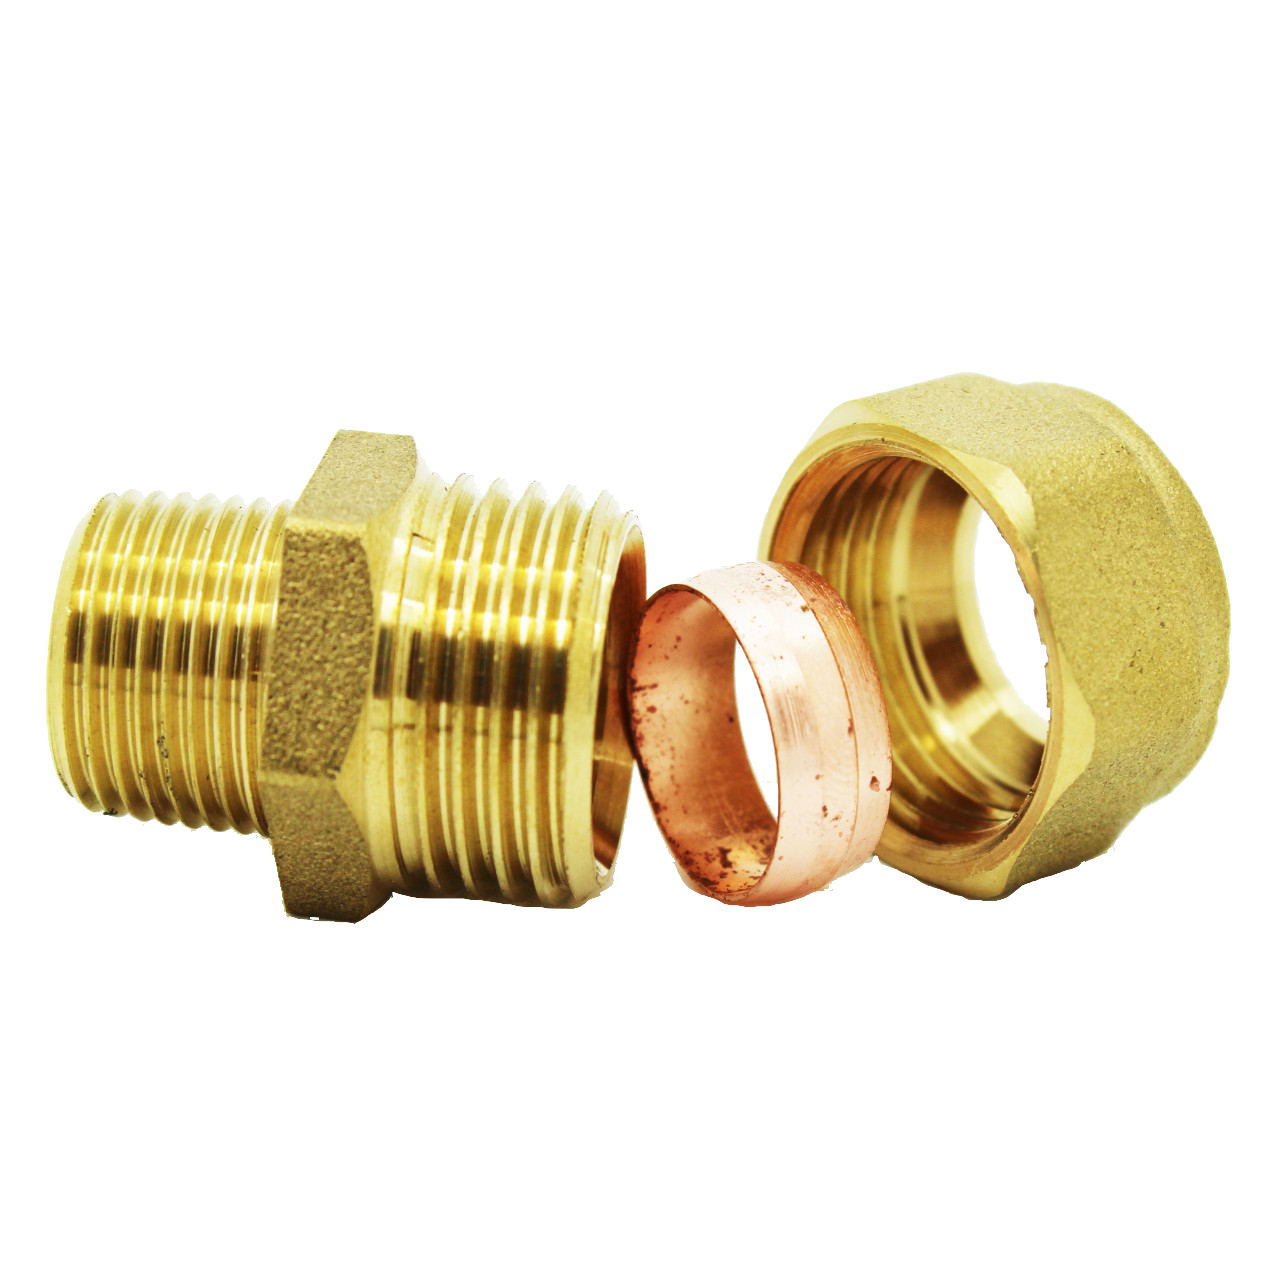
- Both the tank union and valve are available for separate purchase.
- The Tankmaster service kit might also include the body you need.
Need Help?
Our technical team is happy to answer any questions you have about this process. Feel free to contact them for further assistance.
Don’t worry if your Tankmaster handwheel is stuck! It’s likely due to being left in the fully closed position for a long time.
Preventing Seizures:
To avoid this in the future, simply turn the handwheel all the way to the open position until it stops, then back it off half a turn. This keeps the valve from being in a “metal to metal” position for long periods.
Fixing a Seized Handwheel:
Here’s how to loosen a stuck handwheel:
- Apply WD-40: Spray WD-40 liberally around the valve and handwheel. Let it sit for a couple of days to allow the lubricant to penetrate.
- Use Grips (if necessary): After the WD-40 treatment, try turning the handwheel with grips. Be careful not to damage the handwheel with excessive force.
Need further assistance?
If the WD-40 and grips don’t work, don’t hesitate to contact our technical team. They’ll be happy to guide you through further steps.
Changing a Tankmaster filter is very simple, we have actually product a short product video on how to do this correctly to ensure you get a good seal on the filter bowl and to avoid it leaking. Please see the video “Tankmaster – replacing the filter”
Is your sight gauge cloudy and hiding the fuel level? Algae growth, caused by sunlight exposure, is likely the culprit.
Here are your options:
Block UV Light: The back support of your sight gauge can be rotated to block sunlight from reaching the gauge itself. Simply twist it to cover the front when not in use, and rotate it back for viewing. This helps prevent future algae growth.
Replace the Tubing: We offer replacement PVC tubing in cut lengths or as part of a Tankmaster service kit for a complete refresh.
Enhance Visibility: For better fuel level visibility within the existing gauge, consider adding our sight gauge level indicator ball.
No matter the solution you choose, we’ve got you covered!
You can definitely service your Tankmaster valve yourself! We offer several service kits to fit your needs:
- Sight Gauge Kit: This kit includes everything you need to replace just the sight gauge, keeping your fuel level view clear.
- Complete Valve Service Kit: This kit provides all the parts necessary to service the entire valve for optimal performance.
- Tankmaster Service and Upgrade Kit: If you have a Series One valve and want to upgrade to the latest Series Two features, this kit is the perfect solution.
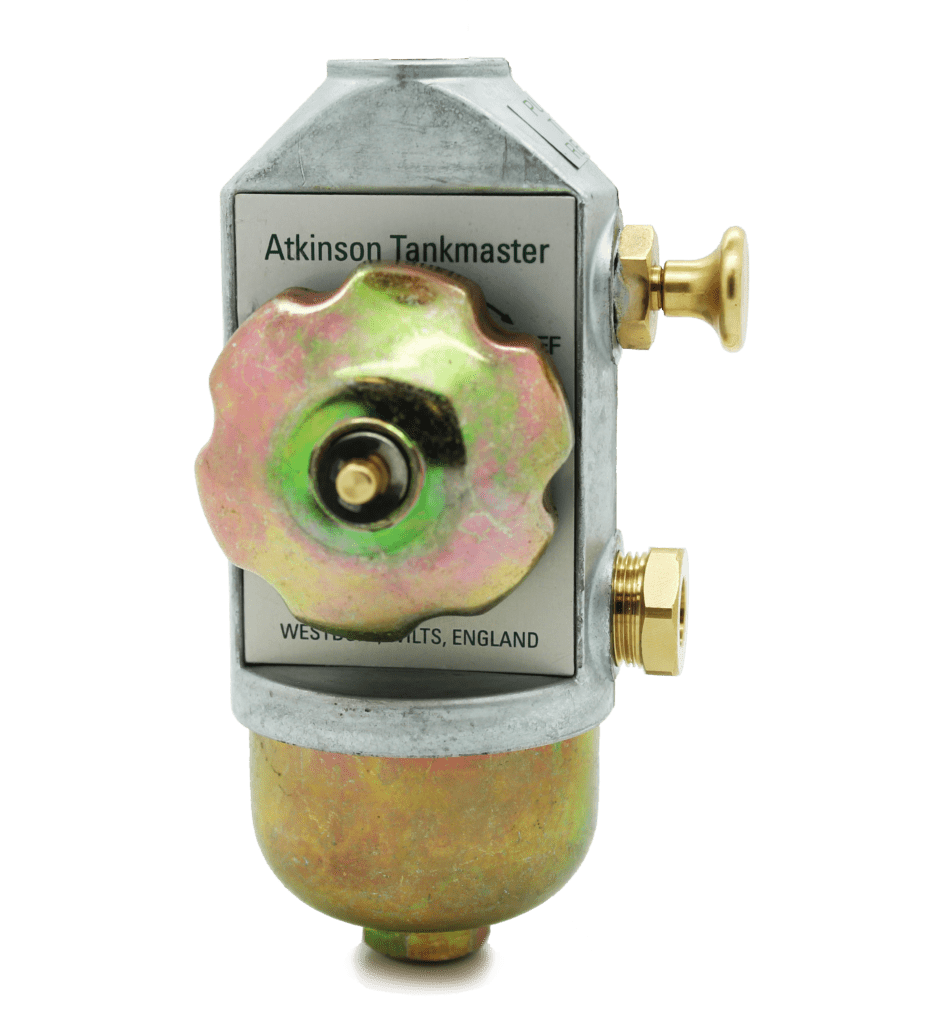
Here’s a user-friendly guide on operating your Atkinson Tankmaster valve:
Viewing the Fuel Level with the Sight Gauge:
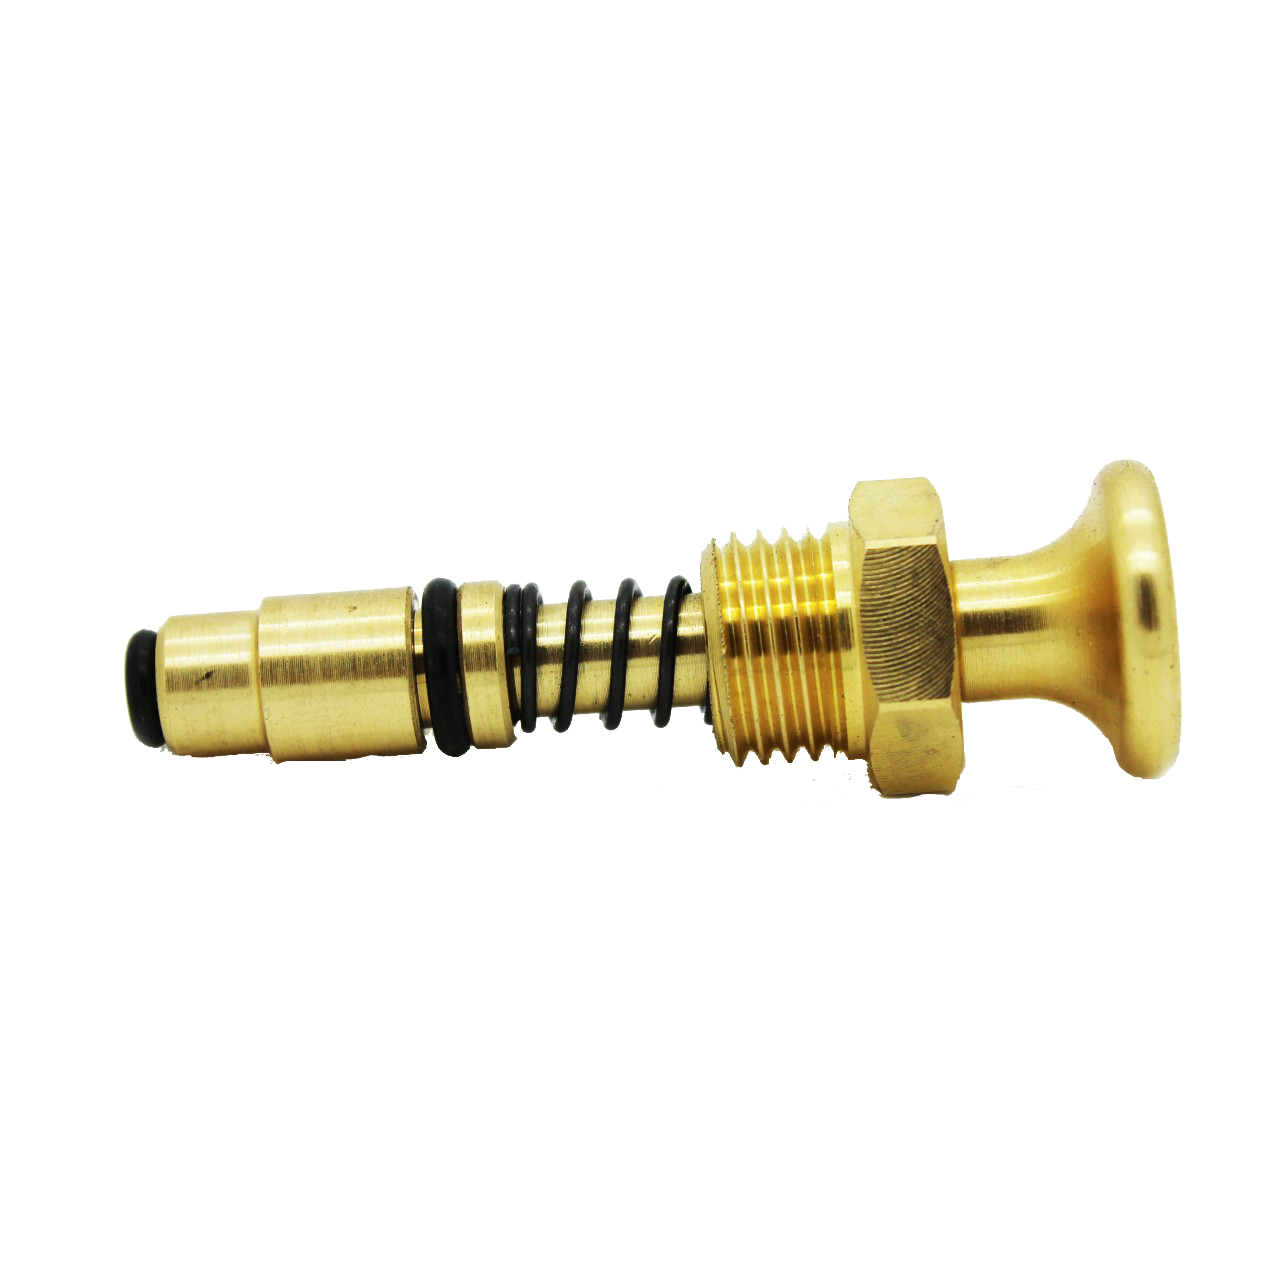
- Locate the “Pull to read button” on the side of the Tankmaster body, above the oil line.
- To see the fuel level, pull and hold this button in the open position until the level inside the sight gauge stabilizes.
- Once you’ve seen the level, the button will automatically return to the closed position when you release it.
Opening and Closing the Control Valve:
- Find the control valve handwheel on the front of the Tankmaster.
- Turning the handwheel clockwise closes the valve. In this fully closed position, the handwheel will spin freely when you turn it further clockwise.
- To open the valve, turn the handwheel counter-clockwise until it stops. Tip: When the valve is fully open, turn the handwheel back a quarter turn clockwise to prevent the threads from locking up in the future.
Replacing the Sight Gauge Tubing (Optional):
- Over time, the sight tubing may become discolored and require replacement.
- You can replace the entire sight gauge assembly (e.g., 4’6” TM4480) or just the tubing with a cut length from a roll of sight tubing (COM 2080).
- You might also consider replacing the green level indicator float (SG2000) at the same time.
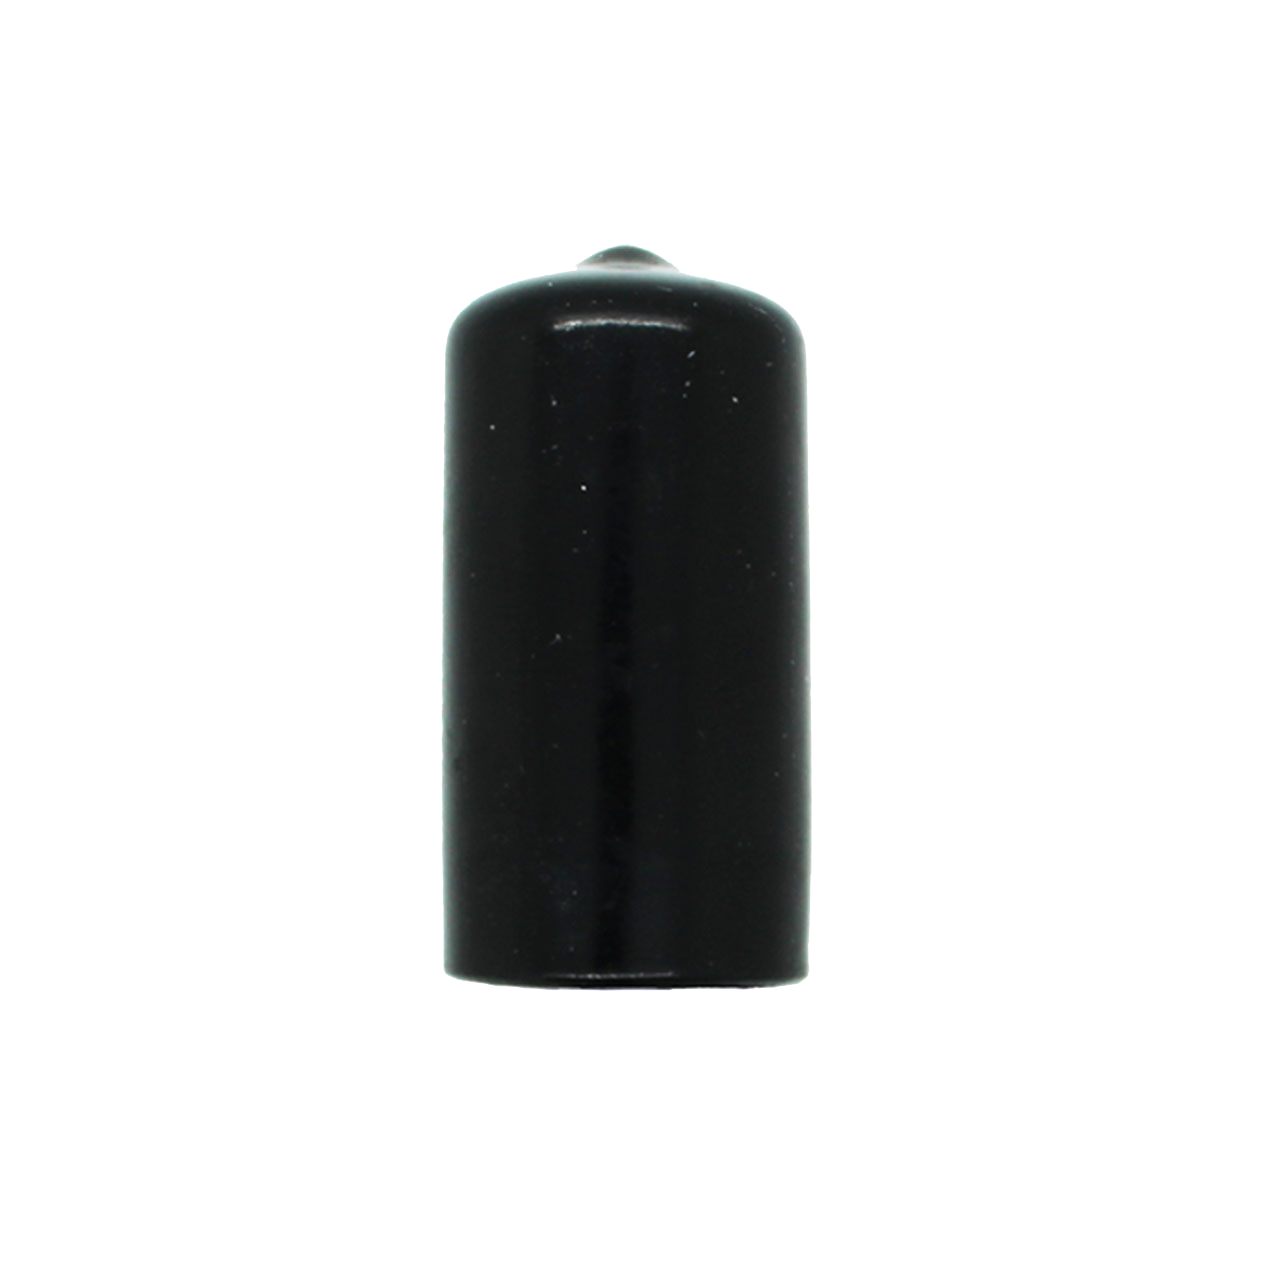
Fire Valve Activation (Important):
- The Tankmaster has a fire safety feature in the form of a fire valve located in the middle of the handwheel.
- If a fire triggers this valve, the valve spindle will push a soldered bush out of the handwheel, automatically closing the valve.
- In such a scenario, the handwheel (TM4310) will need to be replaced before you can operate the valve again.
Remember: This guide provides general information. Always refer to your specific Tankmaster model’s manual for detailed instructions.
Please click the link to view/download or print a fitting instruction sheet.
TANKMASTER VALVES MUST BE SERVICED AT LEAST EVERY 12 MONTHS:
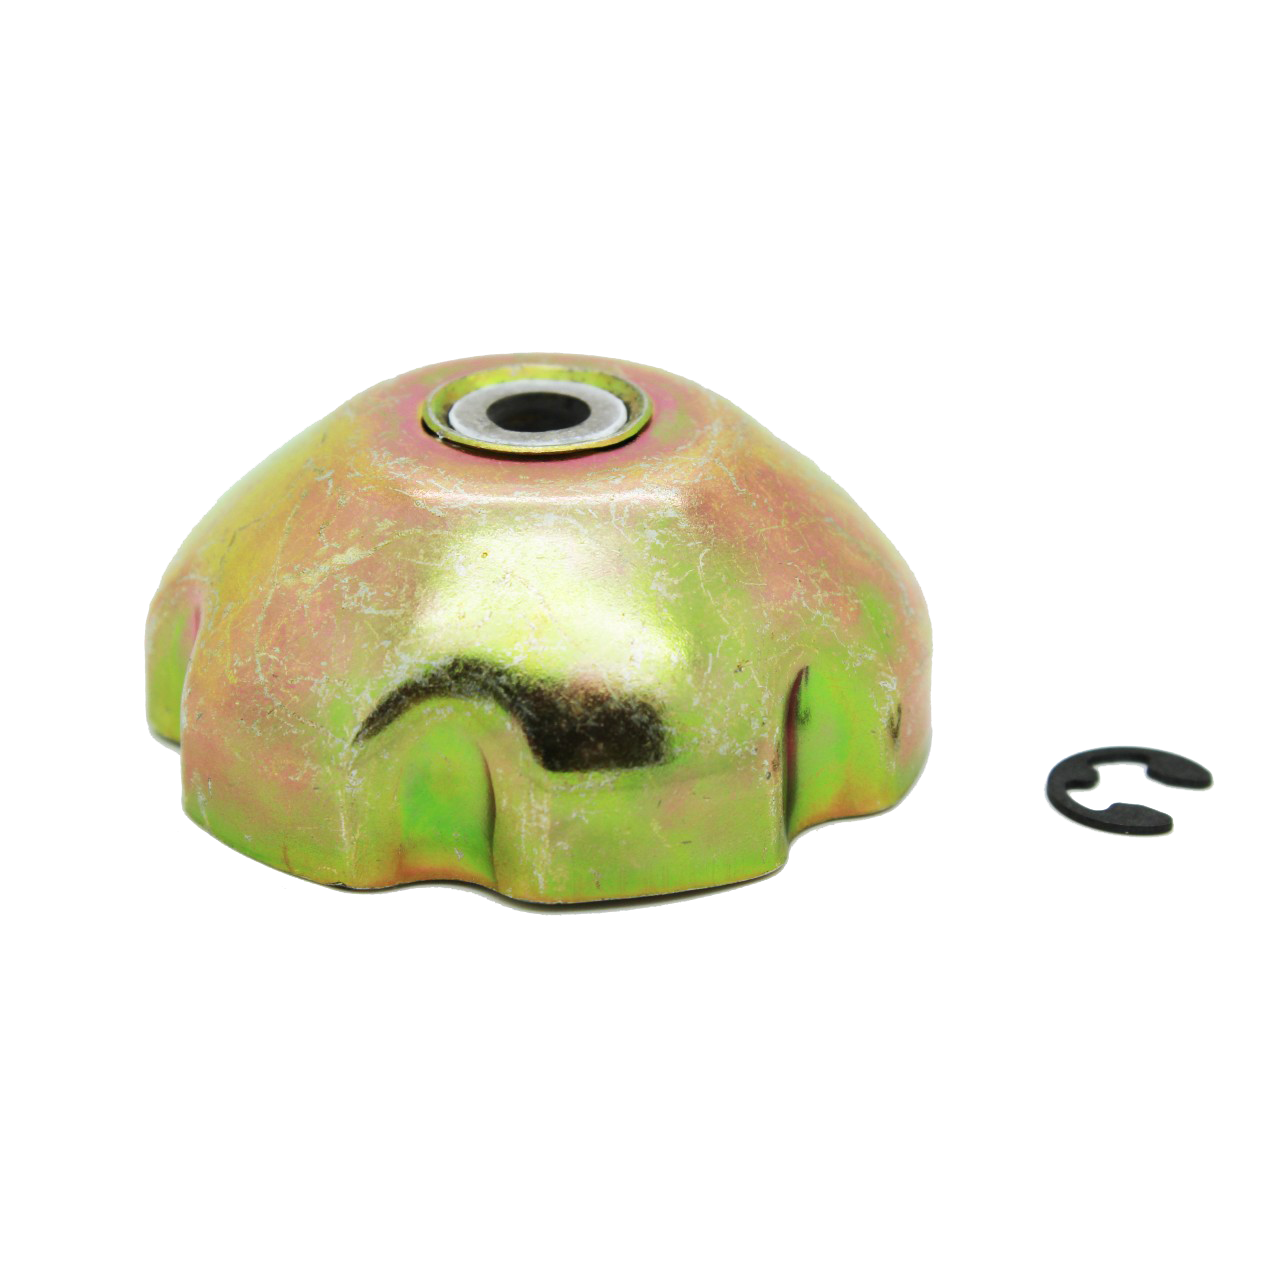
- Carefully remove the circlip on the end of the control valve spindle. Turn the hand-wheel clockwise until it spins free and can be removed.
- Apply copper ease or similar grease to the threads of the hand wheel and replace the hand wheel and circlip. DO NOT at this point operate the hand-wheel into the open position.
- Pull the “Pull to read” button fully into the open position and apply copper ease or similar grease to the pull to read shaft working it into the body by pulling and releasing the button.
- Replace the filter as follows. First make sure you have your new TM4660F replacement filter kit. The Tankmaster filter is not a washable filter! The filter is situated on the bottom of the Tankmaster.
- With the hand wheel in the closed position place a container under the Tankmaster to catch any spillage from the filter when it is removed.
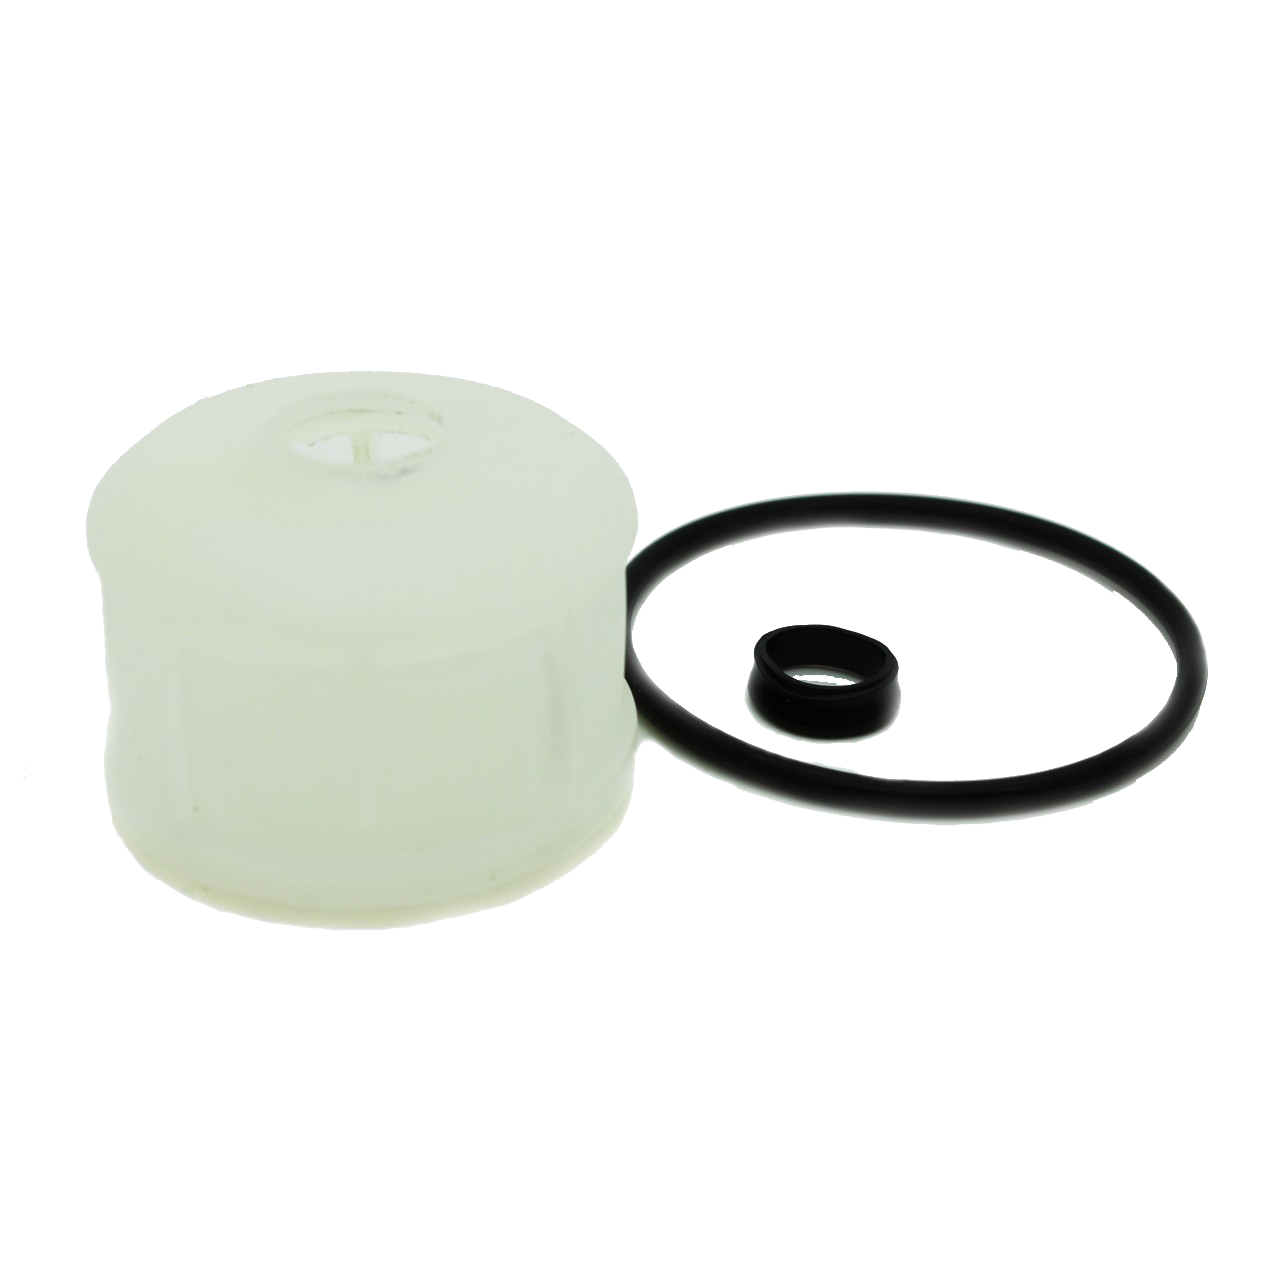
- Using a 17mm spanner, remove the bolt under the filter bowl. Remove the bowl and slide the filter down the filter tube and discard. Remove the bowl seal located in the Tankmaster body bowl groove and discard;
- Finally remove the collapsible seal from the bowl fixing bolt and discard. From the new filter kit take the new bowl seal “O” ring and fit into the Tankmaster body groove.
- Slide the new filter home up the filter tube until the filter tube appears through the bottom of the filter. Fit the new collapsible seal to the 17mm bolt insuring that the rounded edge is under the bolt head.
- After cleaning any sludge from the filter bowl locate the bowl into the “O” ring groove of the Tankmaster Body, insert the bolt and tighten using a 17mm spanner. (Do not over tighten).
- On completion of the service pull and hold the “pull to read” button until there are no air bubbles rising up the sight tube.
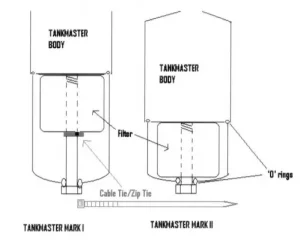
Here’s how to identify whether you have a Mark I or Mark II Tankmaster valve:
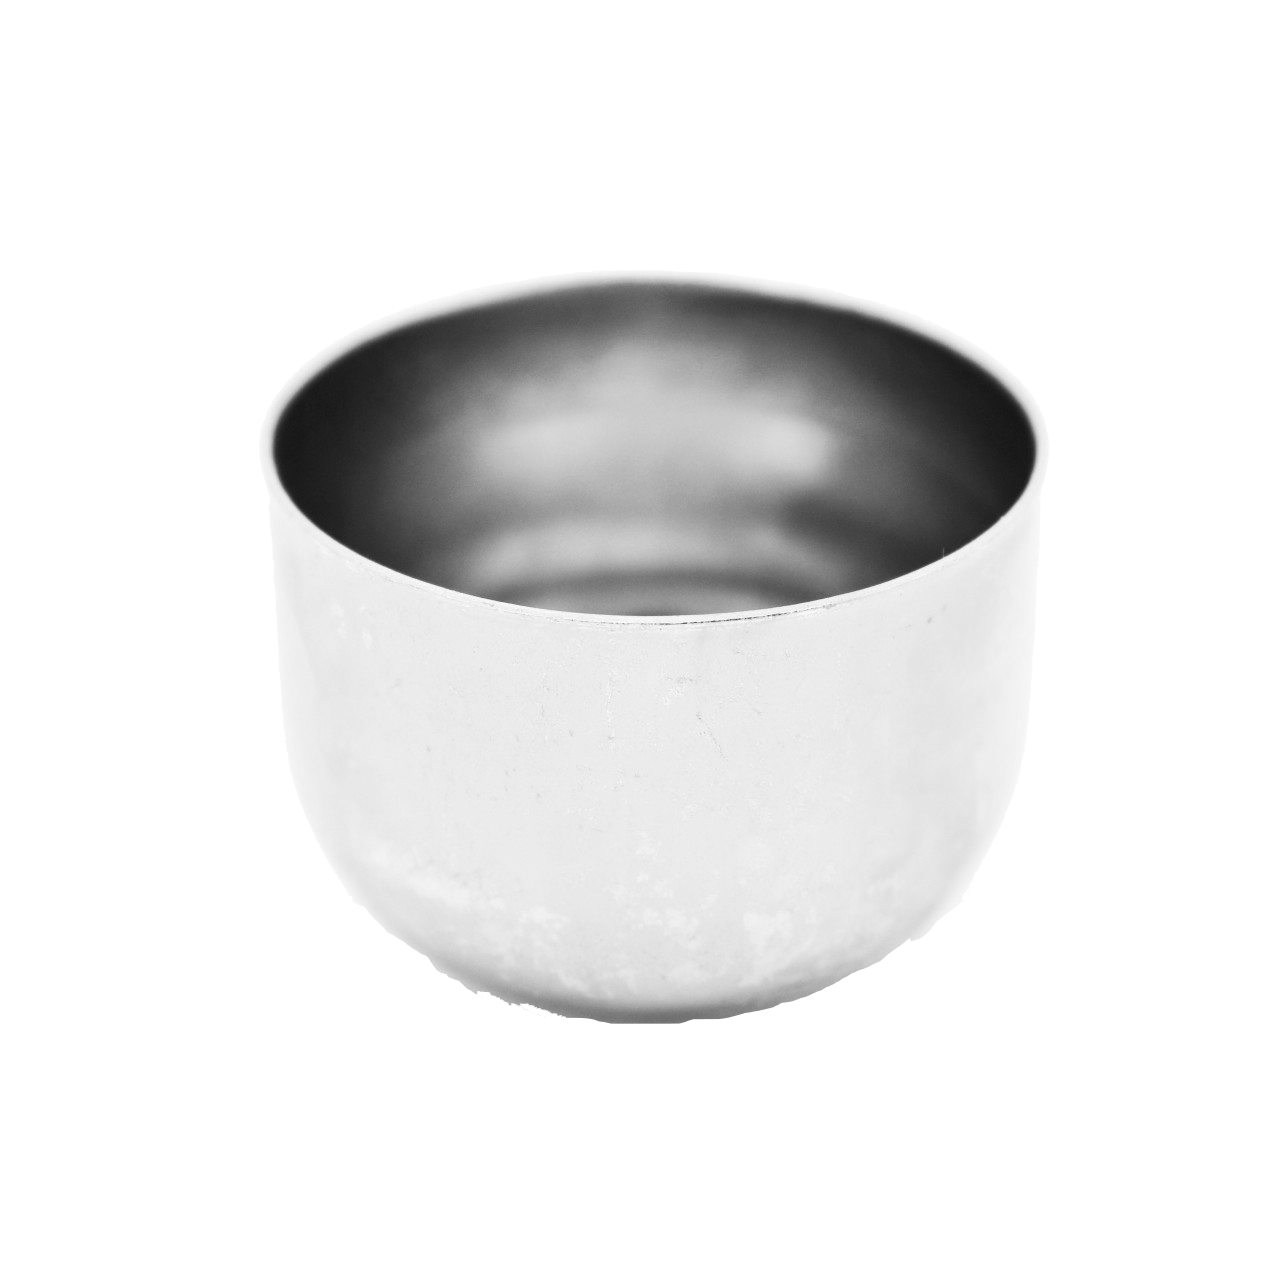
It all boils down to the filter bowl depth!
- Mark I: The filter bowl on a Mark I Tankmaster is deeper, measuring 2 1/2 inches from the body.
- Mark II: The Mark II Tankmaster has a shallower filter bowl, measuring only 1 1/4 inches from the body.
Grab a ruler and measure the depth of your filter bowl to determine if it’s a Mark I or Mark II.
For your reference, it’s not recommended to use a Mark I filter replacement kit on a Mark II valve, and vice versa. However, you can use a Mark II filter kit on a Mark I valve with a slight modification (adding a cable tie). Refer to your Tankmaster manual or contact their technical team for more details on filter compatibility.
Replacing the Filter on Your Old Mark I Tankmaster
While the original paper filter for your Mark I Tankmaster is no longer available, there are still ways to keep your system functioning!
Why the Change?
The introduction of plastic oil tanks, often installed on the floor, necessitated a shorter filter bowl design (Mark II) to allow for enough space during servicing. This led to a shorter, plastic filter element for the Mark II.
Using a Mark II Filter Kit (TM4660F) on Your Mark I:
Here’s some good news! You can still use the filter replacement kit (TM4660F) designed for the Mark II on your older Mark I Tankmaster. Just follow these simple steps:
- Add a Cable Tie: Wrap a small cable tie around the center shaft inside the filter bowl. This will hold the shorter Mark II filter element up against the body of your Tankmaster.
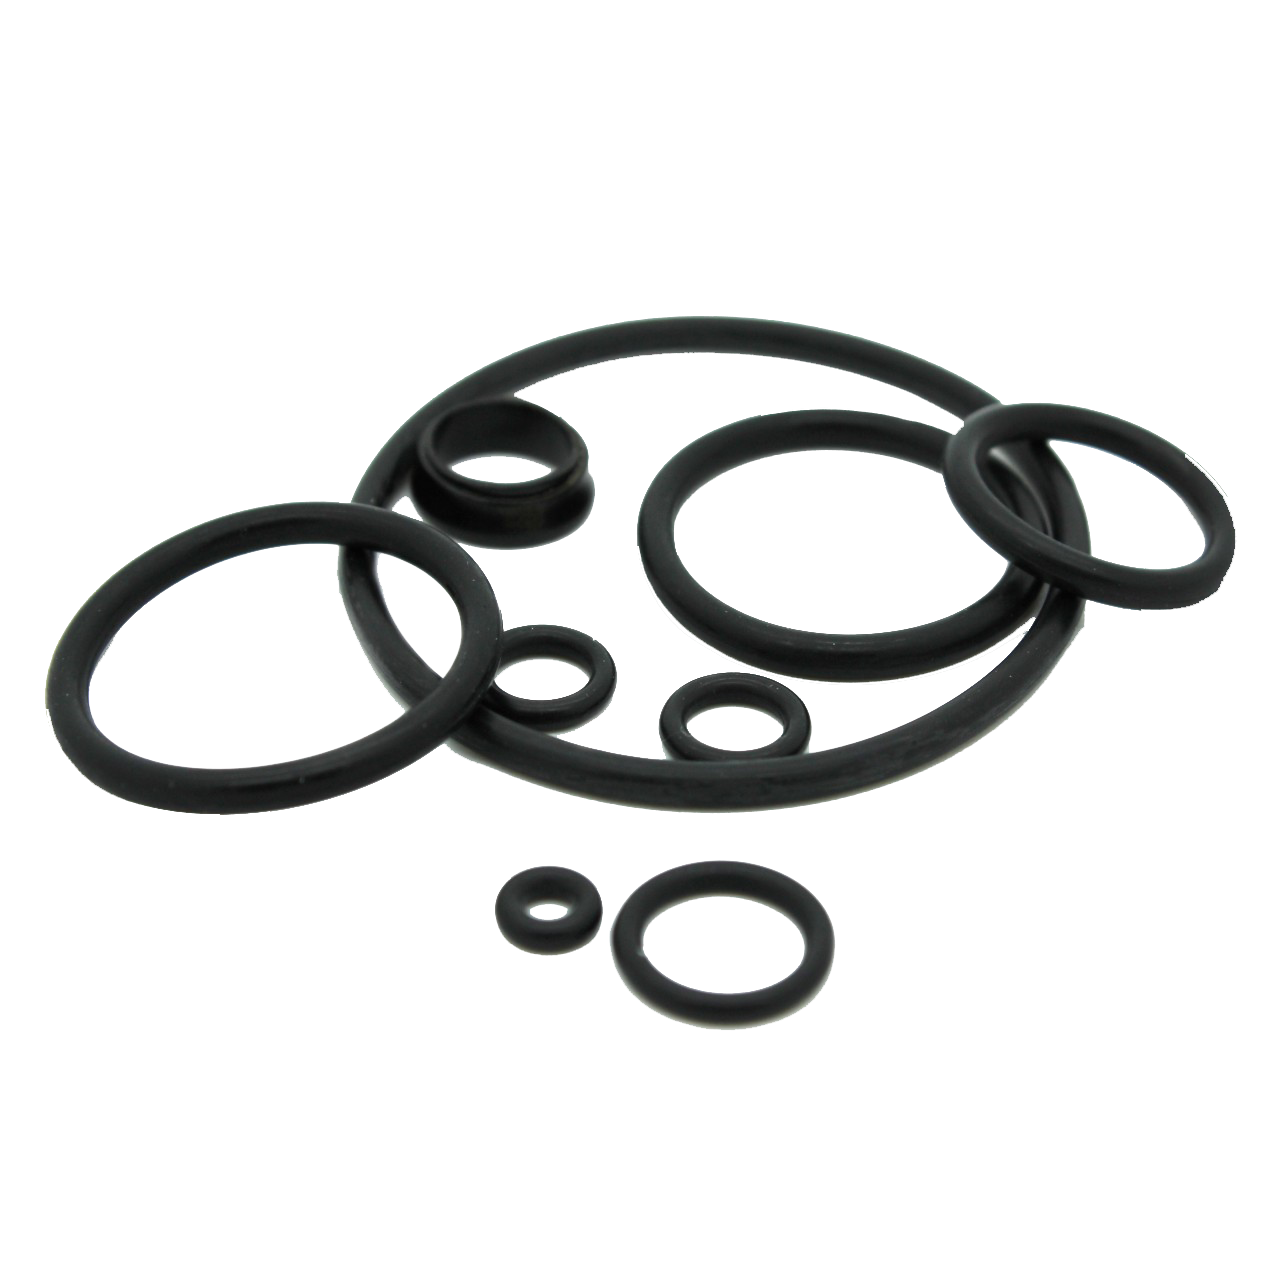
- Replace the O-rings: The kit includes two new O-rings: one for the top and one for the bottom of the filter bowl.
- Important Note: The existing bottom O-ring might appear flat. Don’t worry! This is normal due to compression. The new O-ring for the bottom screw will be tapered and needs to be installed with the narrow edge facing upwards towards the filter bowl.
Upgrading to a Mark II Tankmaster:
Alternatively, you can easily upgrade your entire Mark I unit to a Mark II Tankmaster with a dedicated upgrade kit. This might be a better option if you prefer a more permanent solution.
For further information:
Refer to your Tankmaster manual or contact our technical team for detailed instructions on filter replacement or the upgrade process.
Playlist
How to change the filter on an Atkinson Tankmaster Valve on your heating oil storage tank. If your storage tank has an Atkinson sight gauge on it, you need to change the filter each time you have it serviced. To purchase your Tankmaster Filter Kit today visit https://www.fueldump.co.uk/product-ca…
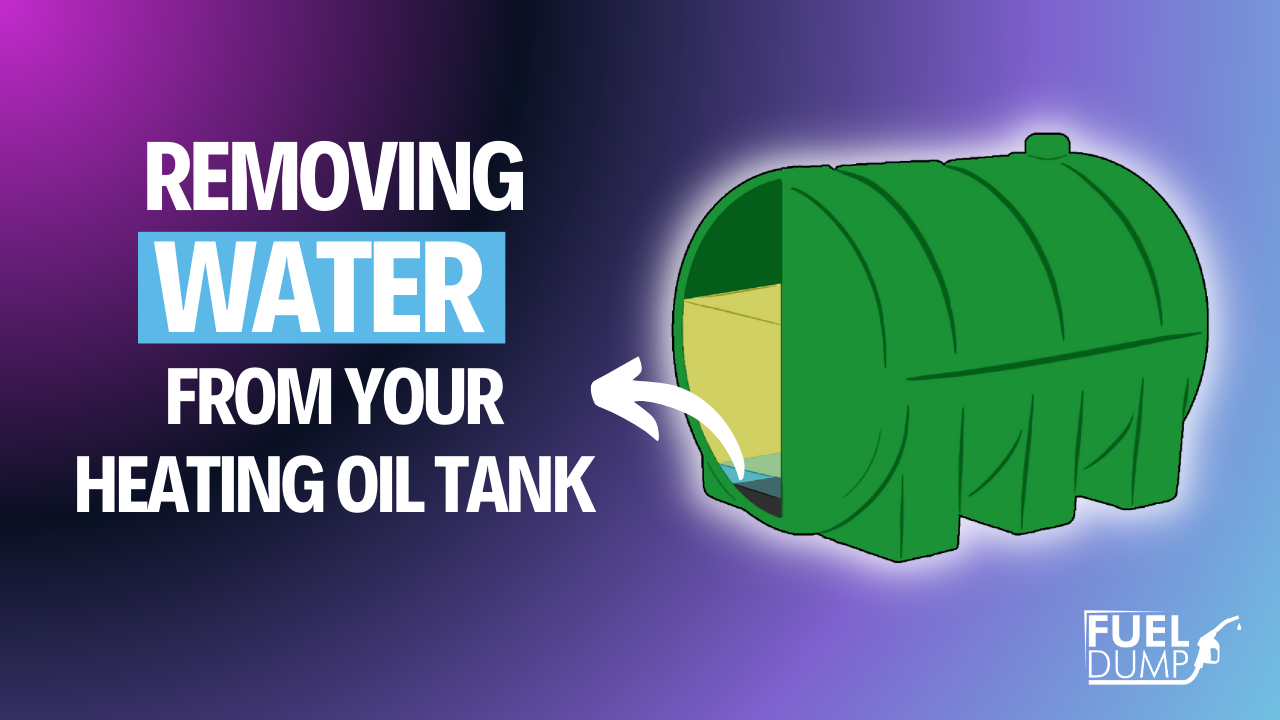
This is a helpful video showing you how to find out if you have water in your heating oil tank and how to remove it. Water in your heating oil storage tank can get into your heating system and cause damage to your boiler and equipment, this video will show you how to discover how much of a problem it is for you and how to effectively remove it and keep it at an acceptable level.
This is a helpful video showing you how to find out if you have water in your heating oil tank and how to remove it. Water in your heating oil storage tank can get into your heating system and cause damage to your boiler and equipment, this video will show you how to discover how much of a problem it is for you and how to effectively remove it and keep it at an acceptable level.